

I Bought a *Used* ROG Ally, Here are the Upgrades that Improved It
The used market is how we're going to ride out this tech whirlpool.

My local game shop got into PC gaming a few years ago and since, they’ve been throwing some killer deals to my community! The one that caught my eye recently was a ROG Ally Z1E for only $400. That’s a high-end gaming handheld PC for less than a Switch 2!
For several factors, people think of these as the ‘bad’ gaming handhelds compared to everything else available. However, I was optimistic that after a handful of incremental upgrades, this device could prove to be one of the most cost effective means of getting into PC gaming. A docked Z1E-chipset used like standard PC can play Elden Ring all day and have it look better than the PS4/Xbox One version. That alone is a potent proposition, but if we can fix it’s problems in handheld mode — oh baby, this thing can be competitive with handhelds on the market that cost literally four times for similar performance (thank you, tech oligarchs.)
Note: This is not a tutorial, just a collection of things to think about.
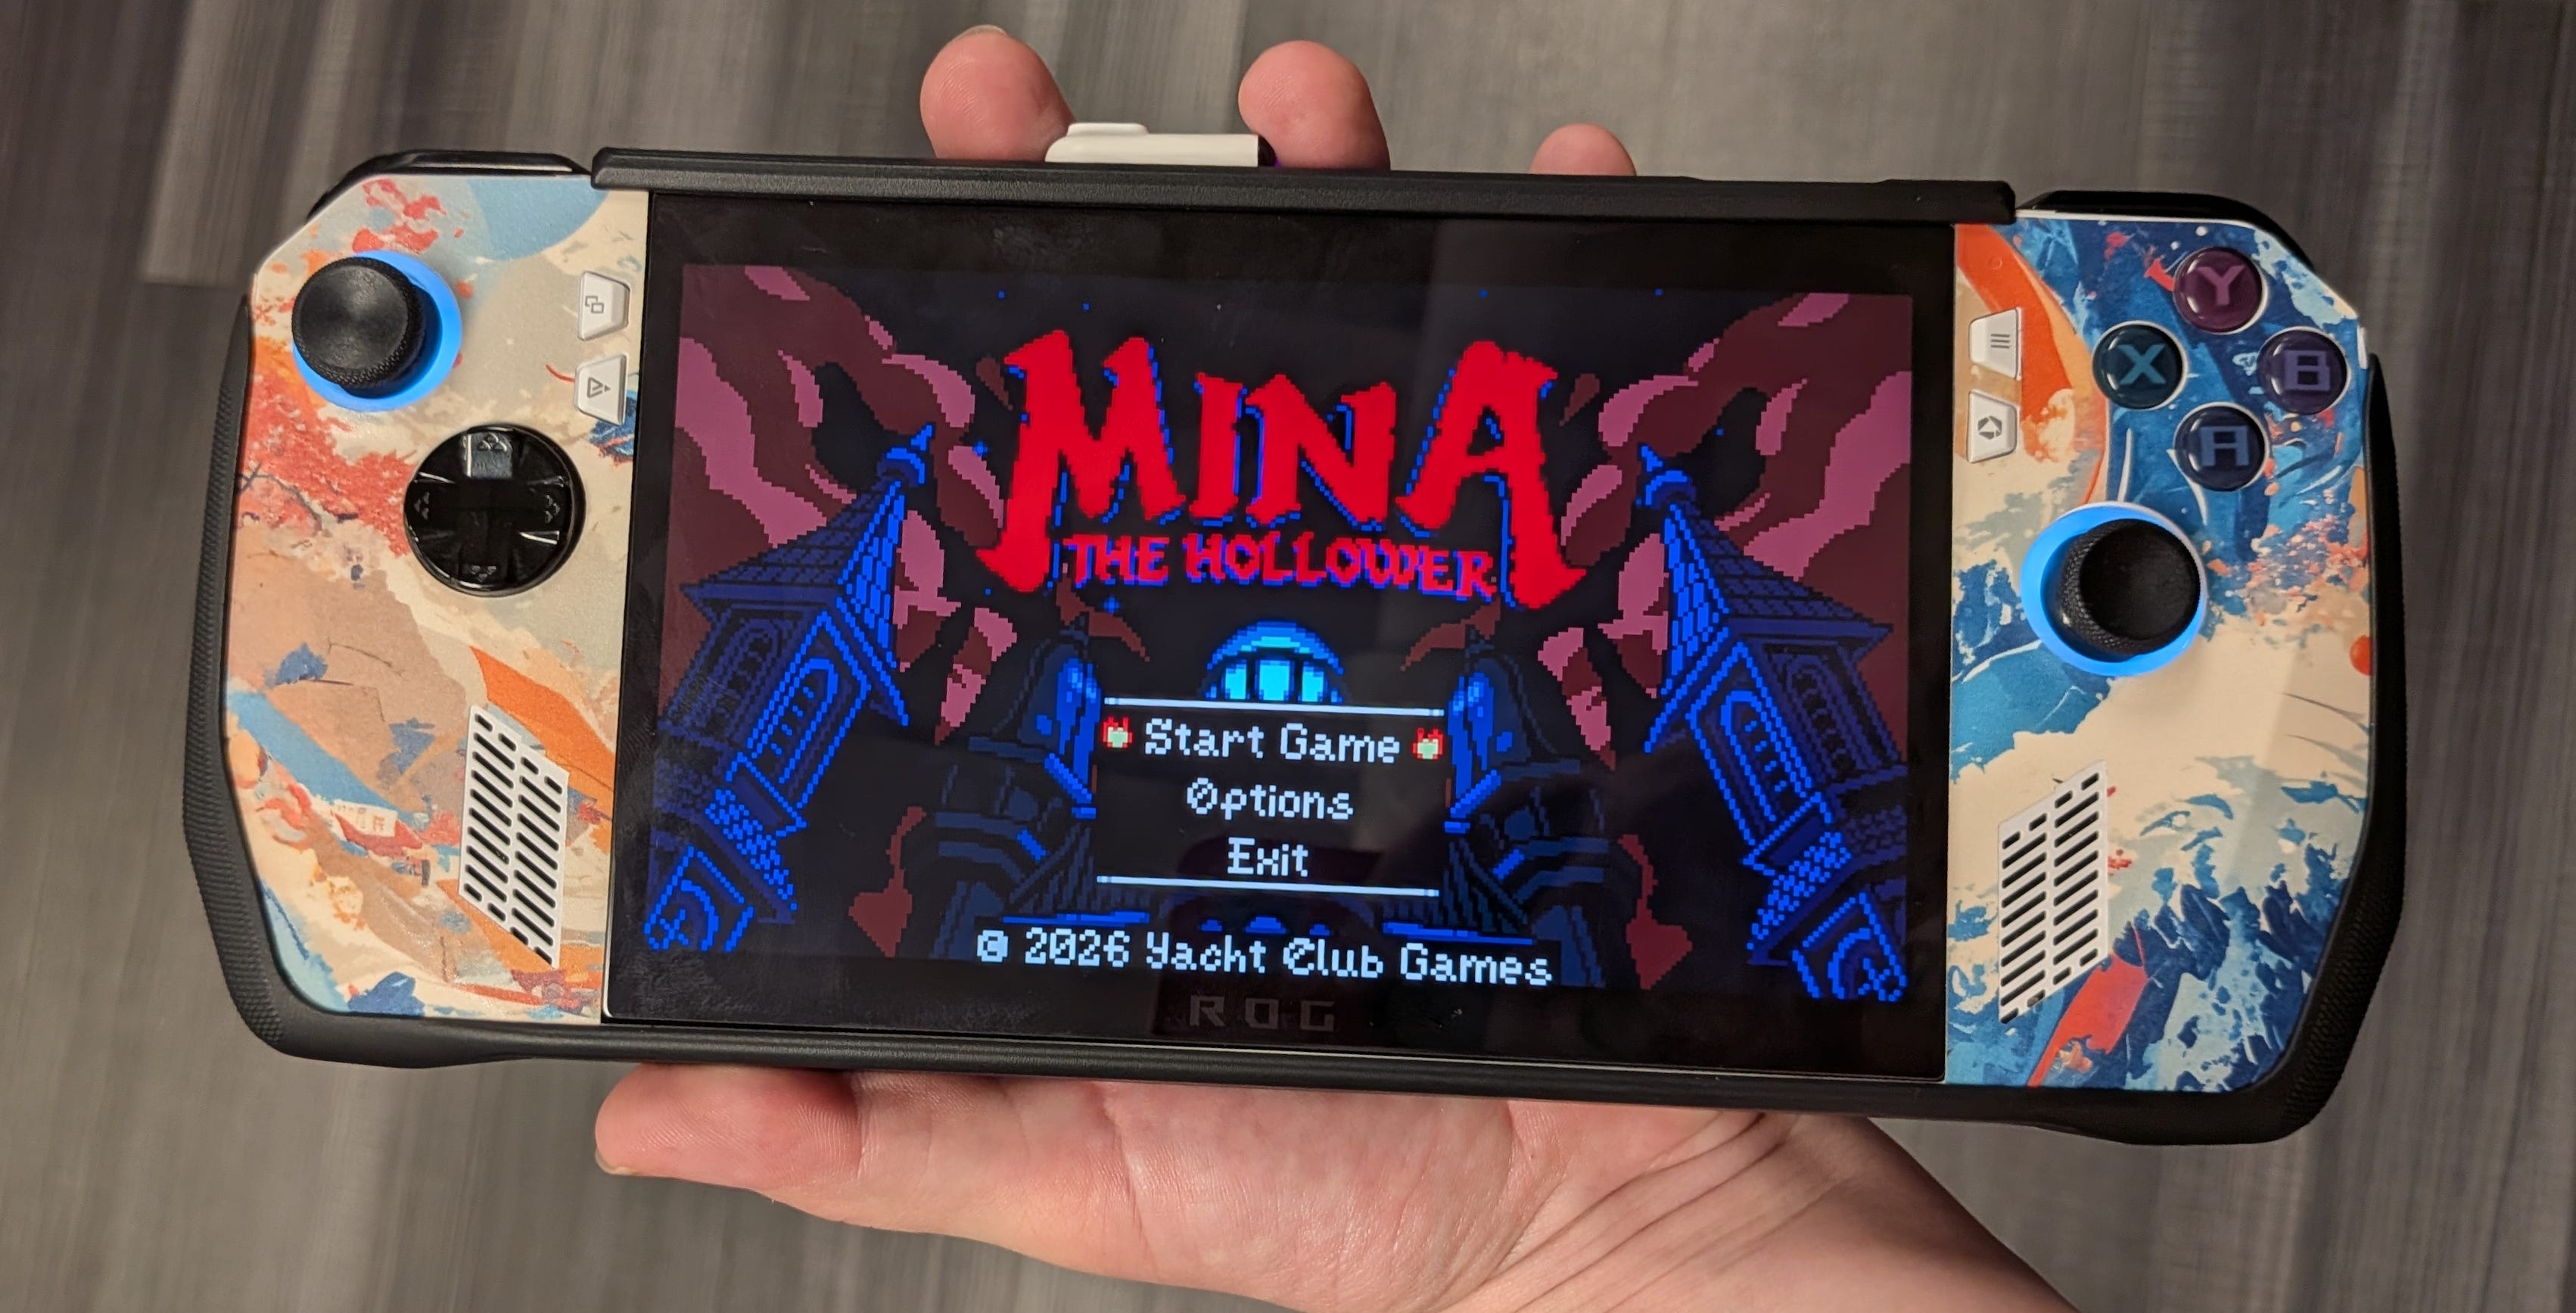
Straight out the *used* box
Setting up a Windows handheld is just gobs of institutional knowledge you’ll need to have previously acquired or else you’re locked into whatever ecosystem the hardware manufacture provides. Armoury Crate, the ‘front-end’ Asus created for managing your game libraries and hardware stuff isn’t the worst front-end on the planet, but I personally prefer less sponsored content, more personalized space.
So after the Windows install, the first thing I did was uninstall the Asus software to make room for G-Helper, a much lighter, open-source equivalent for drivers and hardware management. This software lets you customize TDP (or power draw,) FPS limits, screen refresh rate, LEDs, button mappings — you name it!
By default, G-Helper replaces the right ROG button (under Start) with a dedicated pop-up menu for all its features. I experimented with making the left ROG button (under Select) all sorts of things, but the function I’ve settled on is Win+Tab — a way to move between menus quickly. You can also have it launch software by pointing it at the executable, or pretty much anything else you can think of.
Keyboard inputs need to be translated into Hex values for G-Helper to recognize them. Here are three you might want to use:
Win + Tab (fancy app switcher) = 0x5B 0x09
Alt + Tab (original app switcher) = 0x12 0x09
Alt + F4 (force close app) = 0x12 0x73
I also ran a couple debloat tools — WinSetView which returns File Explorer to it’s Pre-11 state, and Win11Debloat which attempts to remove as much telemetry and unnecessary functions from the operating system it can without breaking things.
Time for a new battery!
G-Helper also makes battery health reports WAY easier to see, which is how I learned my device was only holding 75% of the charge it was built for.
According to Retro Game Corps’ testing, the 40Wh battery this device ships with grants about 1hr for AAA stuff and 3hr for lightweight emulation. That’s… abysmal. Since mine’s only 3/4th of that, Vampire Crawler’s drove a stake through my device after just 2hrs of playtime.
Researching options turned up two routes: I could buy the fancy JSAUX kit with a 65Wh battery and custom backplate for about $120 (before tax and shipping) or get DIY with a $40 74Wh ASUS battery and a home made heatsink! Take a guess at which I picked.
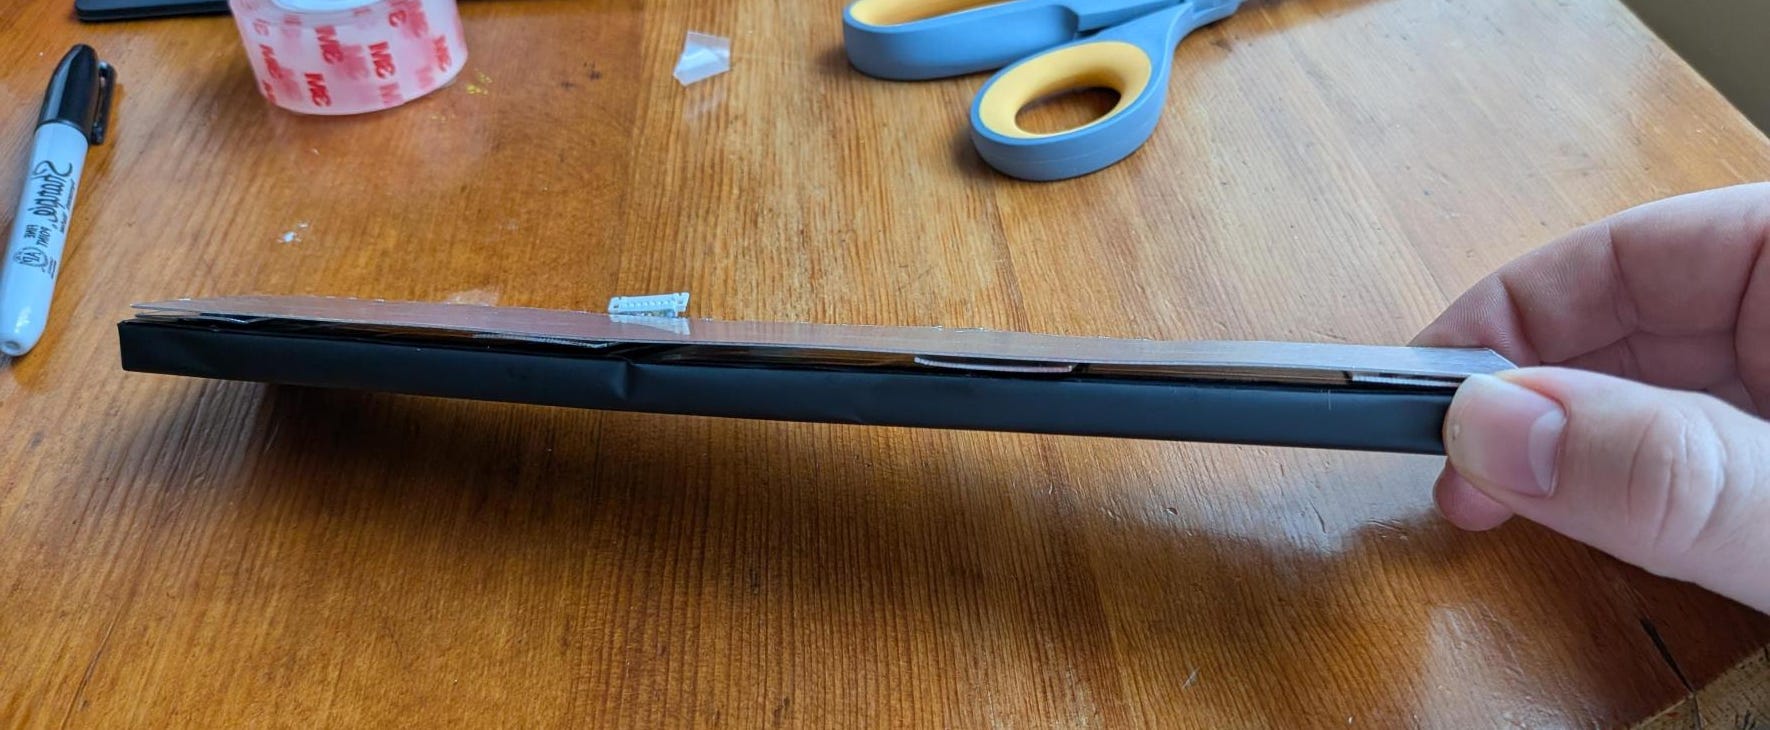
You’ll find people online saying the heatsink is an optional step. I disagree — here’s why.
Caring for Lithium-Ion Batteries 101
The fundamental rule of Lithium-Ion longevity is simple: heat is the enemy.
Look through the comment sections for the popular 74Wh aftermarket batteries, and you’ll notice a pattern. Dozens of users complain that their battery health tanked after just a few months of use. Yet, almost none of them mention installing a heatsink or thermal shield. Are these third-party cells inherently faulty, or are they just being used incorrectly?
The answer lies in internal geometry. Asus explicitly designed the stock ROG Ally battery to sit away from one the motherboard’s hottest components — the RAM modules. By contrast, these larger 74Wh aftermarket batteries achieve their massive capacity by physically filling that empty internal gap, leaving them resting directly on top of the RAM.
Lithium-Ion cells begin to degrade rapidly when exposed to temperatures above 60°C. Without a custom thermal barrier, you are essentially baking the battery. A dedicated heatsink isolates the temperature-sensitive battery cells from the RAM and APU—two components that are perfectly comfortable running at up to 80°C, but will absolutely destroy a battery trapped right next to them.
-Ronnette Batterie the 5v
I’ve linked an incredible video below that not only provides tested data for these claims, but also goes through the materials needed and construction process of building your own heatsink. It was genuinely a ton of fun and one of the reasons I feel more connected to this handheld!
Oh yes, it’s Playnite!
After these two big changes, it was time to finally get my desired gaming experience in order. Steam Big Picture mode is phenomenal for all things Steam, but I don’t like using the Add Local Games to Library feature to bring in other Libraries. Instead I use an open-source utility called Playnite!
Playnite has a bit of a learning curve, but only because it’s such a powerful tool. It has plugins to seamlessly incorporate your libraries (like Epic, GOG, Xbox, even Steam), connects games to artwork and metadata repositories so you can add beauty and detail. It integrates with emulators, meaning you can launch games directly from Playnite after integrating it with RPCS3, Eden or whatever else you’re emulating. It even has it's own big picture mode with lots of themes and customizable elements!
I love Playnite, but the tinkerer in me is curious about switching off of it in favor of Handheld Companion, another open-source Armoury Crate alternative that manages your libraries too. Some folks online think it’s the gold standard if you prefer simplicity. If you want things to be even easier, replacing your Windows install with Bazzite, a flavor of Linux that basically turns your device into a Steamdeck. Some report better battery life and performance running Bazzite but after installing my improved battery, I don’t worry about either metric one bit.

Fixing the ergonomics
At this point, the device’s internals are up to a great standard, but holding the device isn’t perfect. Looser grips do just fine, but I found that even short-sessions with a tight grip leave my hands feeling achy.
After searching online, I found enough praise for the Skull & Co. grip to pick one up. Came with a matching case too, all for a little over $30! Simply slide the grip around the device and now you’ve got two nice big bumps to grip. They aren’t slanted so they’re not as comfy as a controller — more like a Steamdeck, if anything. Still, it’s a tremendous improvement over the stiff, angled and shallow grips when using the ROG Ally without a case, so I’m convinced this is worth leaving on. It also solves my need for case!
After seeing this white device in a black grip, I was reminded of how Retro Game Corps’ uses skins on his devices to dramatically change their look and presentation. I’ve never been a big fan of skins, they’ve always seemed tacky. His, however, brought some raw color to the device, more of an abstract look. I searched for ones like his and sure enough, PlayVital sells a few nice ones at a price I could stomach spending.
Post-installation, I instantly fell in love! I think it breathes new life when looking at it. I’ve been seeing the ROG Ally with the plain while look in in thumbnails and posts for three years now. Sort of like building my heatsink, it’s now officially personalized.
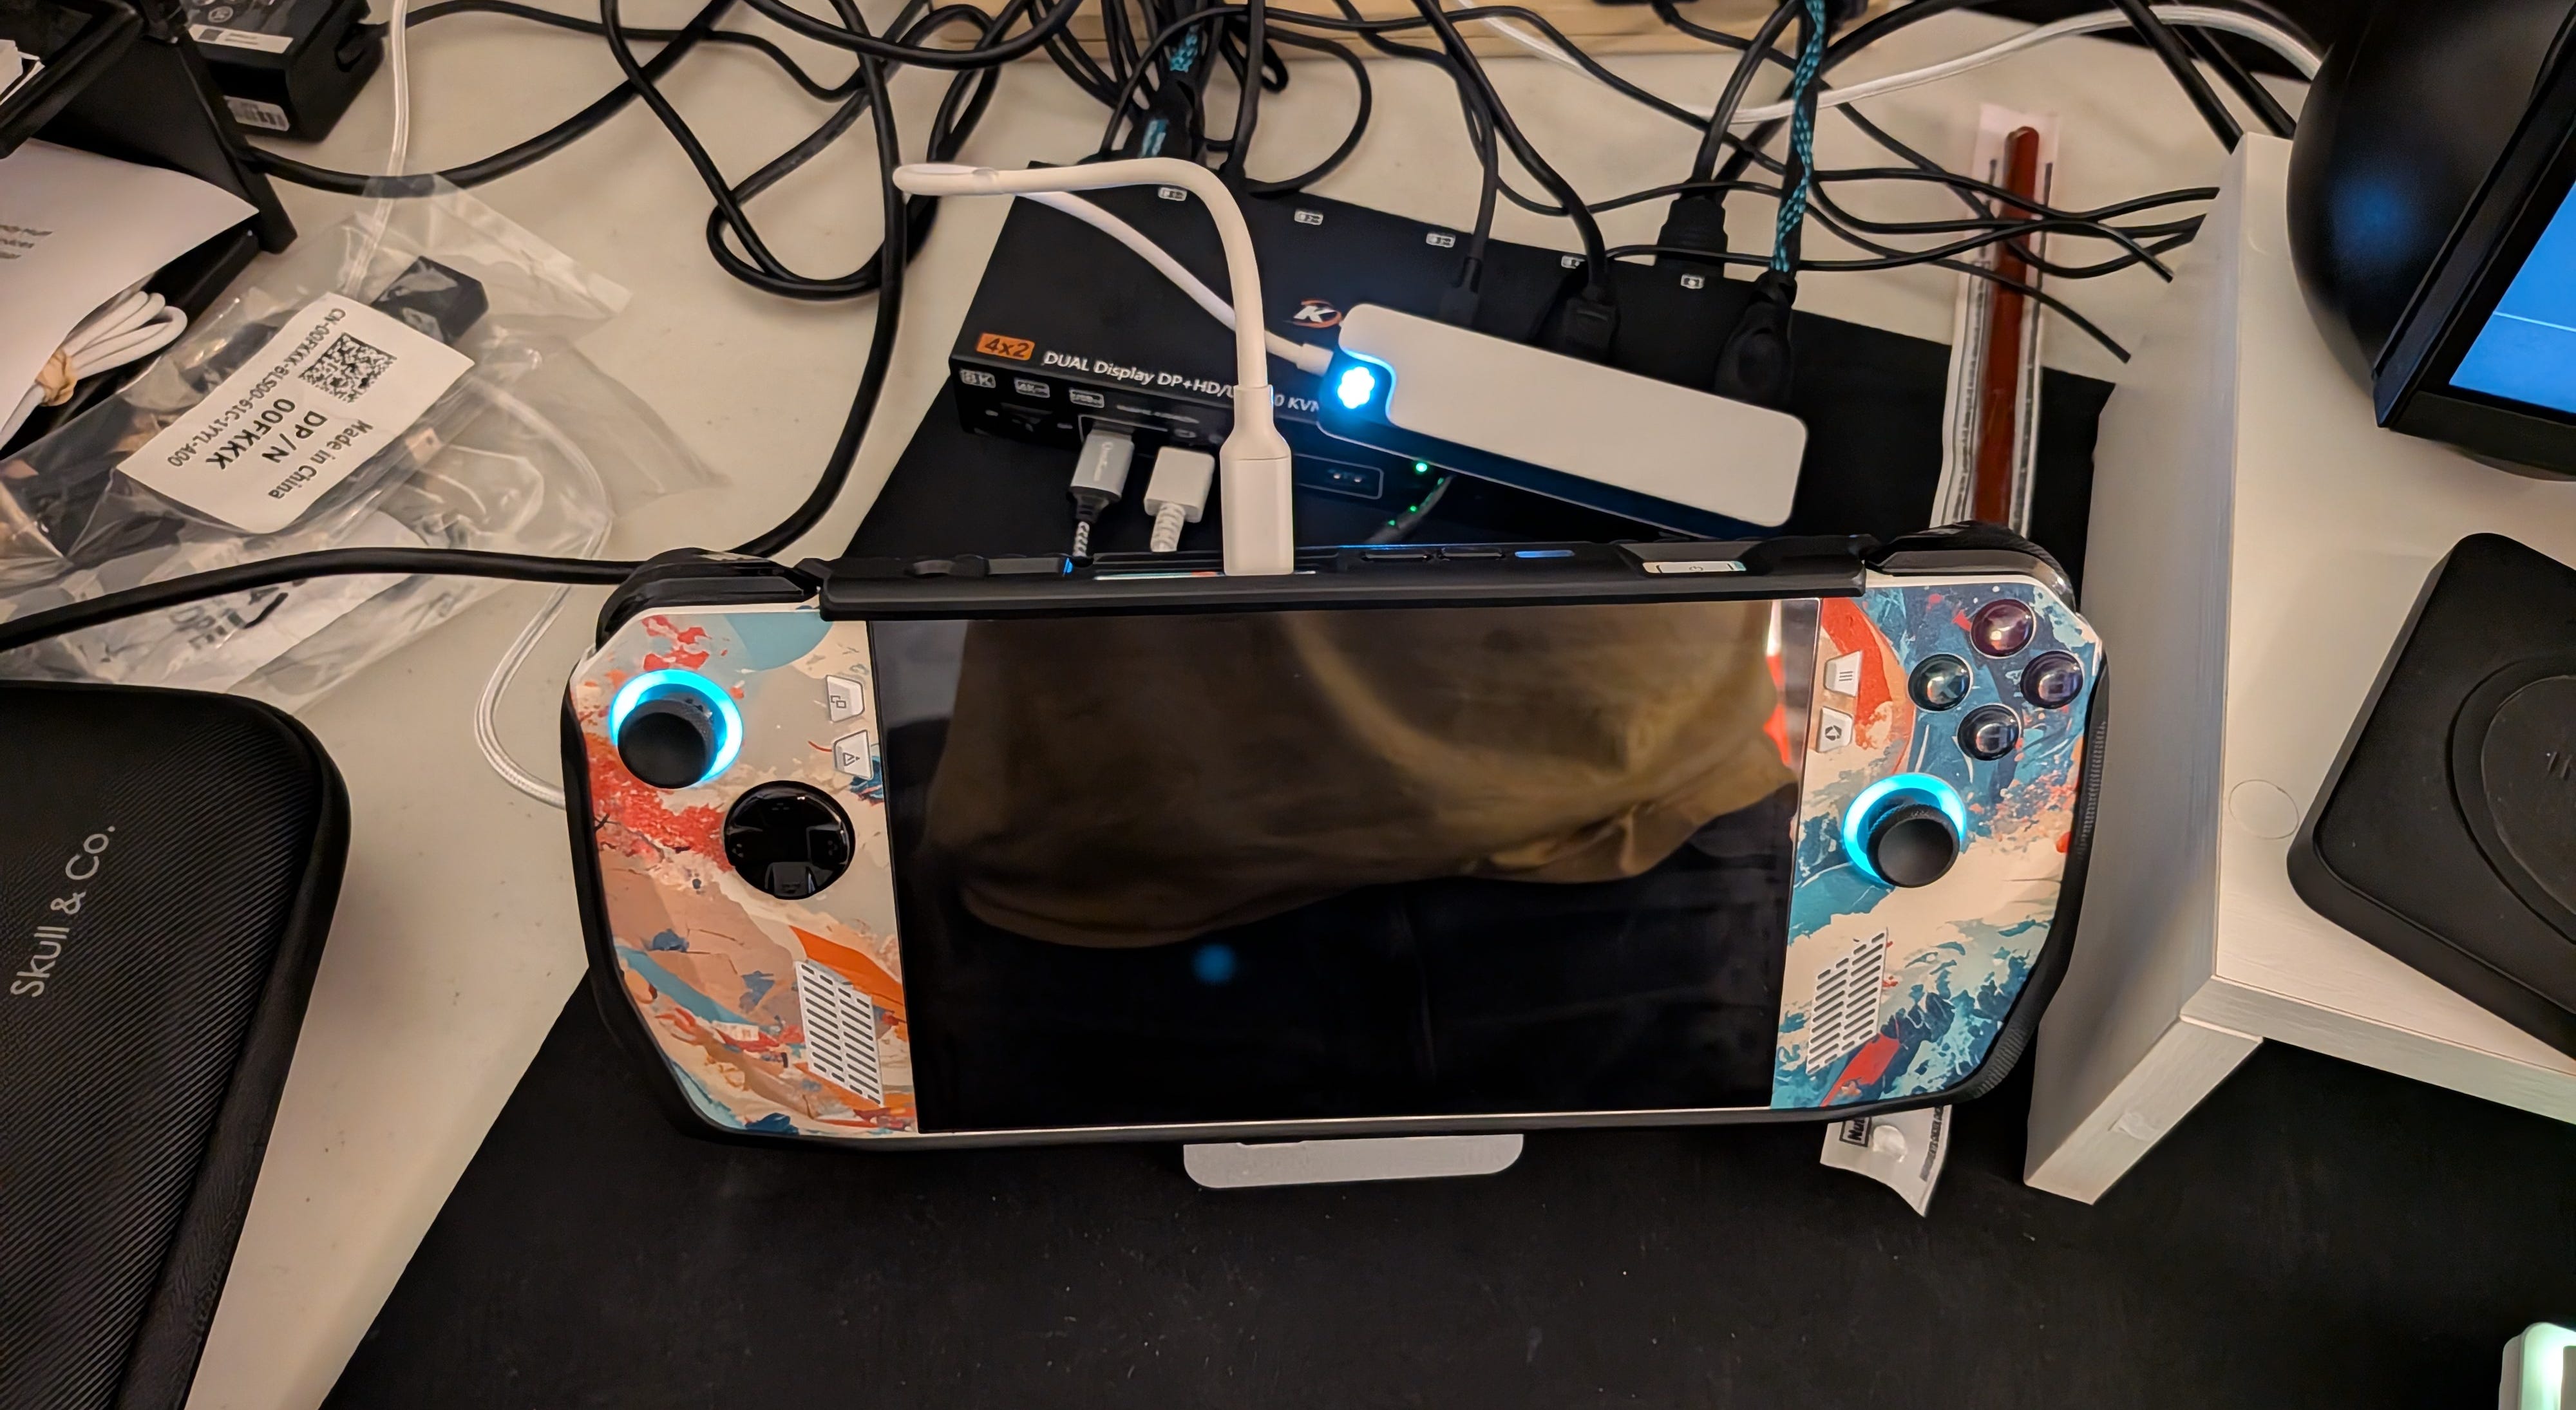
Seeking a convenient docked mode
Up until now, everything I did while ‘docked’ was done using a Bluetooth mouse and keyboard plus an Android tablet running SuperDisplay (to act as a stand-alone monitor). A device as capable as the Ally deserves an easy-to-slip-into docked mode, so I started researching USB-C docks.
My partner had the go-to JSAUX dock for their Steamdeck lying, so I tried it out and no dice — the Ally grip makes it too thick to fit inside the dock comfortably. So I impulse purchased a dock intended for Mac at Best Buy, the Targus Hyperdrive Flex 5. It was cheap, very portable and granted a USB-C input (for fast data transfer without pulling the PD.) Picked it up, started using it and wam bam — it worked great! Plugged it into a TV then realized I could use the same cheap prop-anything-up stand I was using for the Android tablet but for the ROG Ally to give it that nice, Switch-like cabinet presence.
TV mode was great, but I wanted a more convenient means of hooking this up at my desk, like my gaming computer is. At first, I was considering going the KVM route — if you happen to have one, that the best option for sure! But since my monitor has both HDMI and DP inputs, I run one cable to my desktop the other to the dock. I’ve got my mouse/keyboard/headphones plugged into a travel USB hub already so I simply move that from my desktop to the dock and can how manage the Ally as conveniently as my main rig!
Done and dusted
We’ve now got a ROG Ally with a better software experience, a great battery, great ergonomics and a wonderful docked experience. My sticks aren’t perfect but I think I’ll save them for another day — it’s time to stop tinkering and actually play some games!